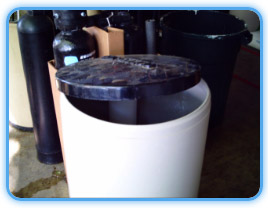
1. Remove the lid to your brine tank.

2. Remove as much salt or potassium as you can from the tank. Any excess water can be removed with a bucket or similar container.
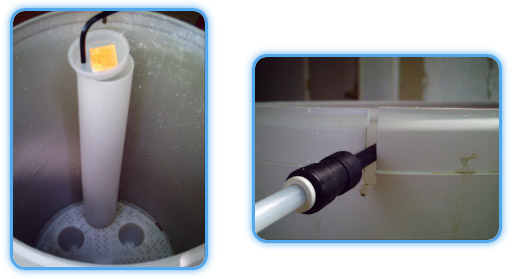
3. Locate the brine float valve which is located in a tube which runs down the inside edge of the brine tank. NOTE: Your tank may or may not have a grid installed in the bottom.

Typically, there will be a slit in the top edge of the tank that the tubing for the valve is pressed into. Pry up the small plastic lid which the valve tubing goes through and slide it up the line a little distance. GENTLY pull the line from the slot. STOP! The float valve should lift out without much resistance. If it does not, use a water hose and shoot a stream of water down into the float valve tube to break up the salt or potassium. Then try lifting the valve completely out again. Eventually, it will loosen up and you will be able to remove it.will be able to remove it.
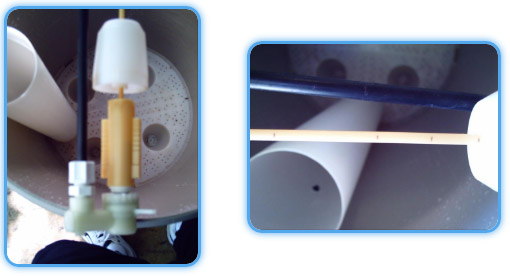
4. Prior to cleaning the valve, please note the location of the float along the plastic rod.The float is adjustable by sliding along this rod. Careful examination will reveal faint reference lines along the rod. Note the location of your cup before cleaning it in case it is somehow moved in the process.

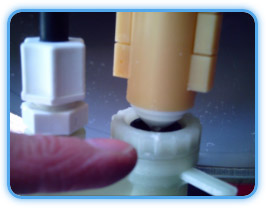
5. Use your water source to rinse inside the black feed tube and outside of the float valve, paying particular attention to the bottom area of it.

6. Typically, most people find it easiest to tip the tank over on its side and using a hose stream to flush out debris/sediment. Standing the tank back up, put a few inches of water in it, then tip it over and let it run back out the float valve tube will often negate having to remove the grid. You may wish to repeat this process a few times to ensure a thorough rinse.
7. Assemble the valve and tank in the opposite order and fill the tank with water to approximately 1 inch above the grid or 6” from the bottom if no grid is installed. Then add your product.


